A GUIDE TO CLEAN WATER OUTDOORS

When you head out on longer trips, access to clean drinking water is just as important as food and equipment. Understanding water purification for hiking can be the difference between a safe outdoor experience and the risk of illness. In this guide, we explain the most common ways to filter water outdoors and how to choose the right solution – knowledge that’s just as useful on the trail as it is in survival and emergency situations.
Why water purification matters when hiking
Clear streams and mountain lakes may look clean, but even crystal-clear water can contain bacteria, parasites or viruses. It only takes a small amount to make you ill, and getting sick far from civilisation can quickly bring a hiking trip to an end.
Since you can rarely carry all the water you need, knowing how to filter water safely is essential. With the right method, you can confidently refill your bottles along the trail.

Methods for water purification outdoors
There are several reliable ways to make water safe to drink in nature. Below are the most common methods for outdoor use, many of which are also relevant for survival water purification in emergency situations.
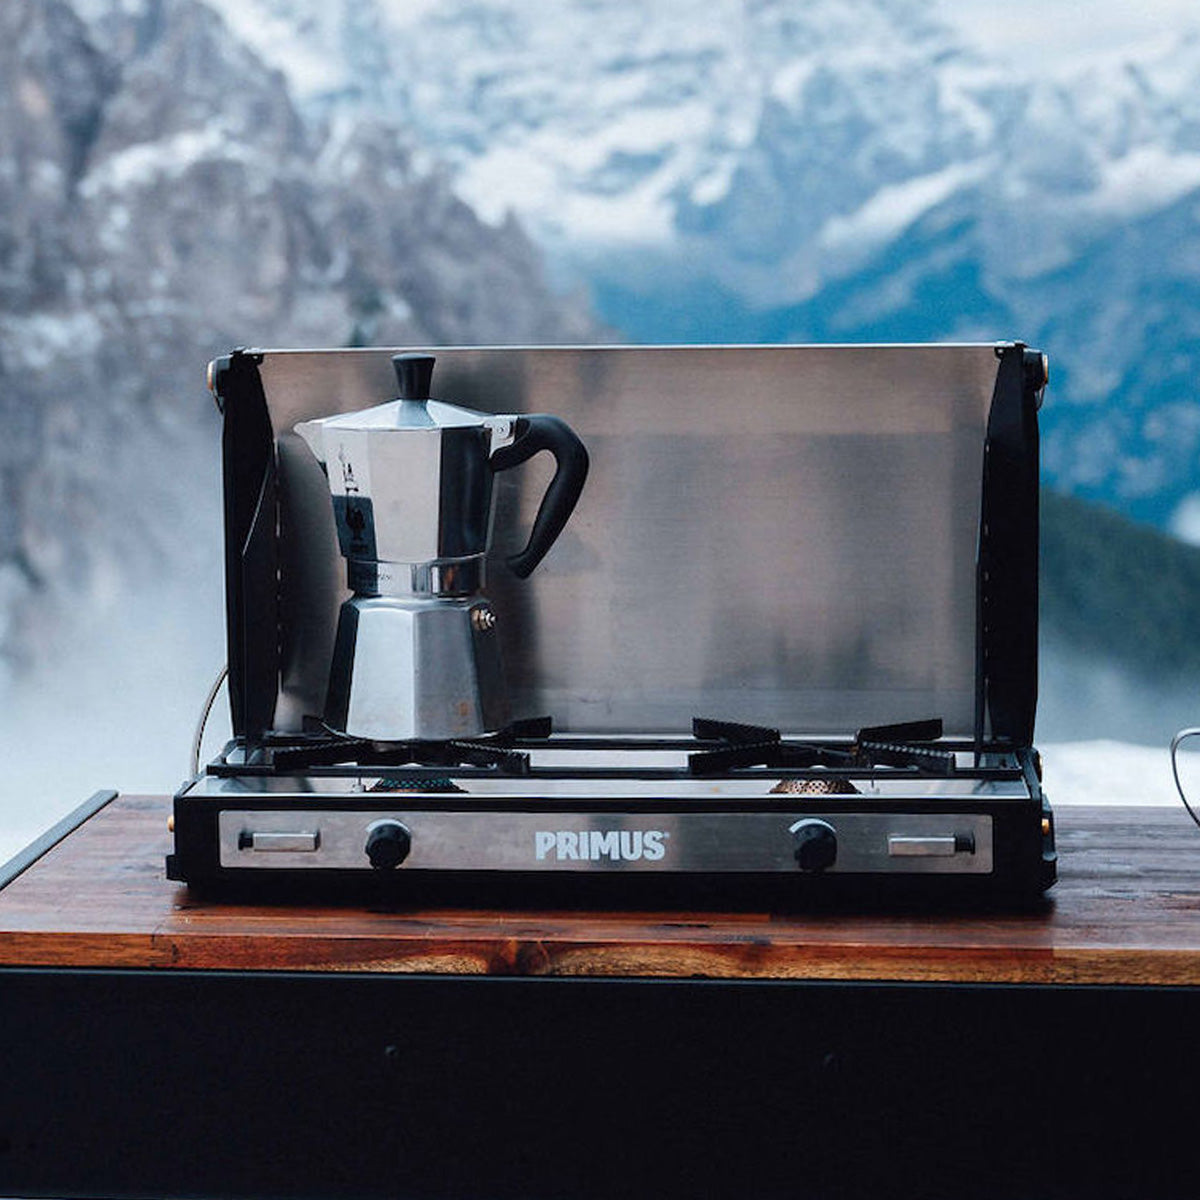
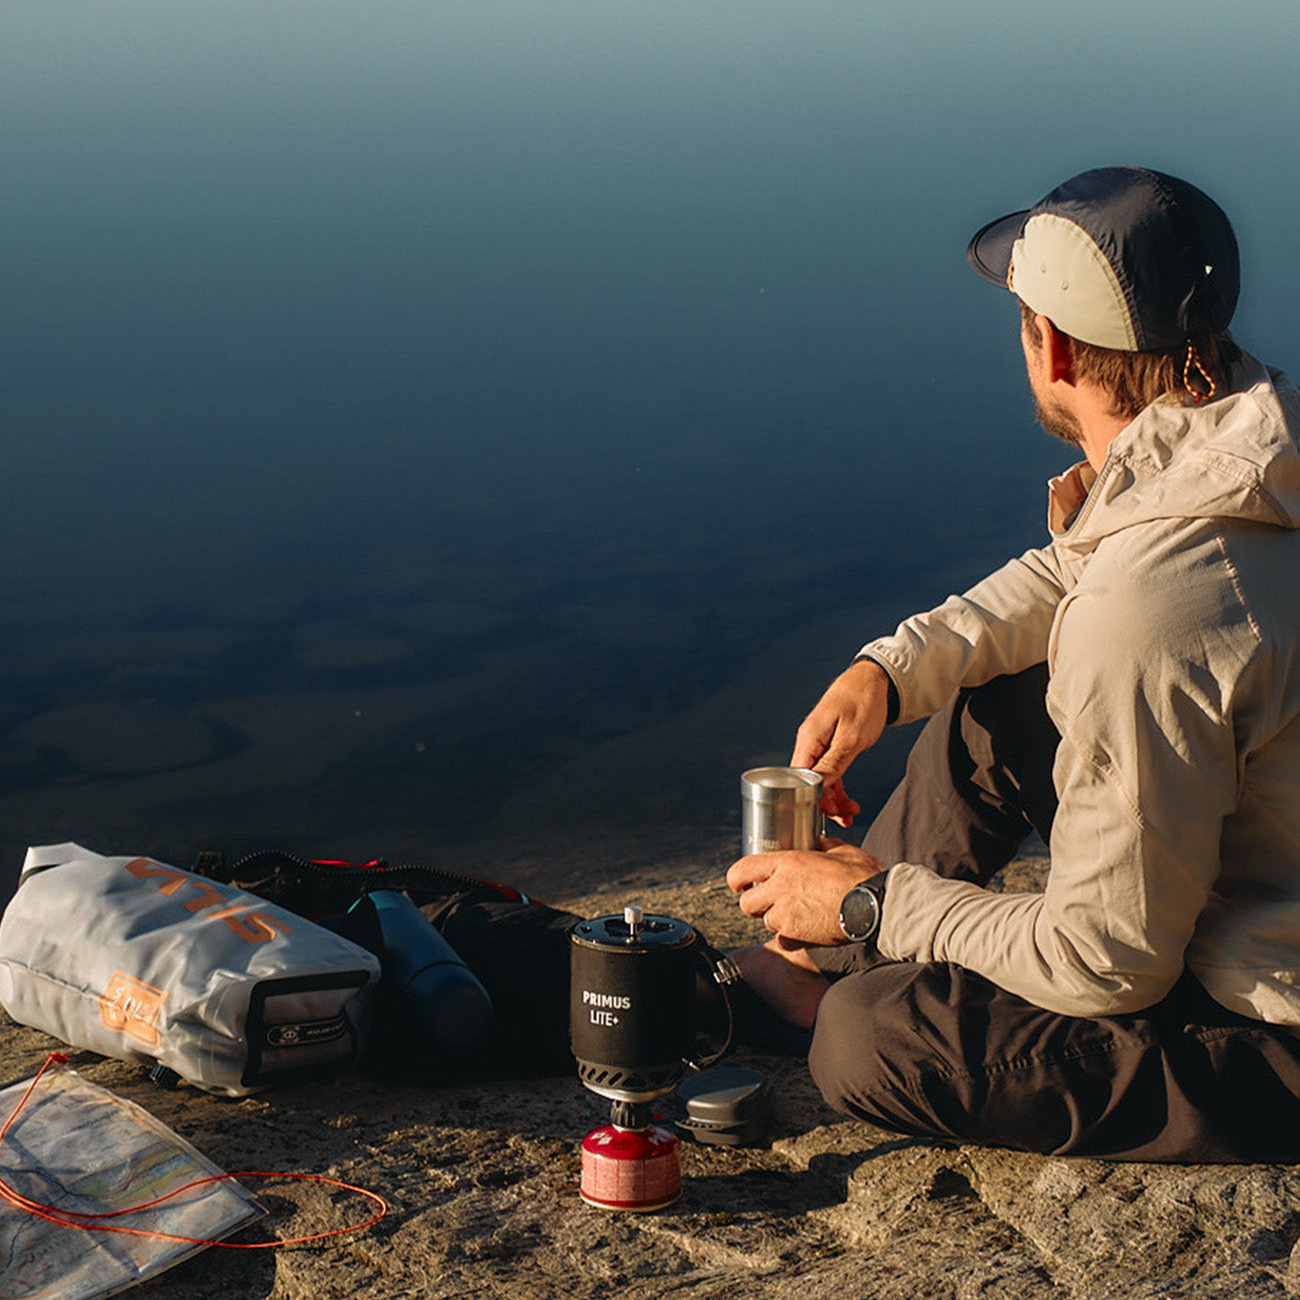
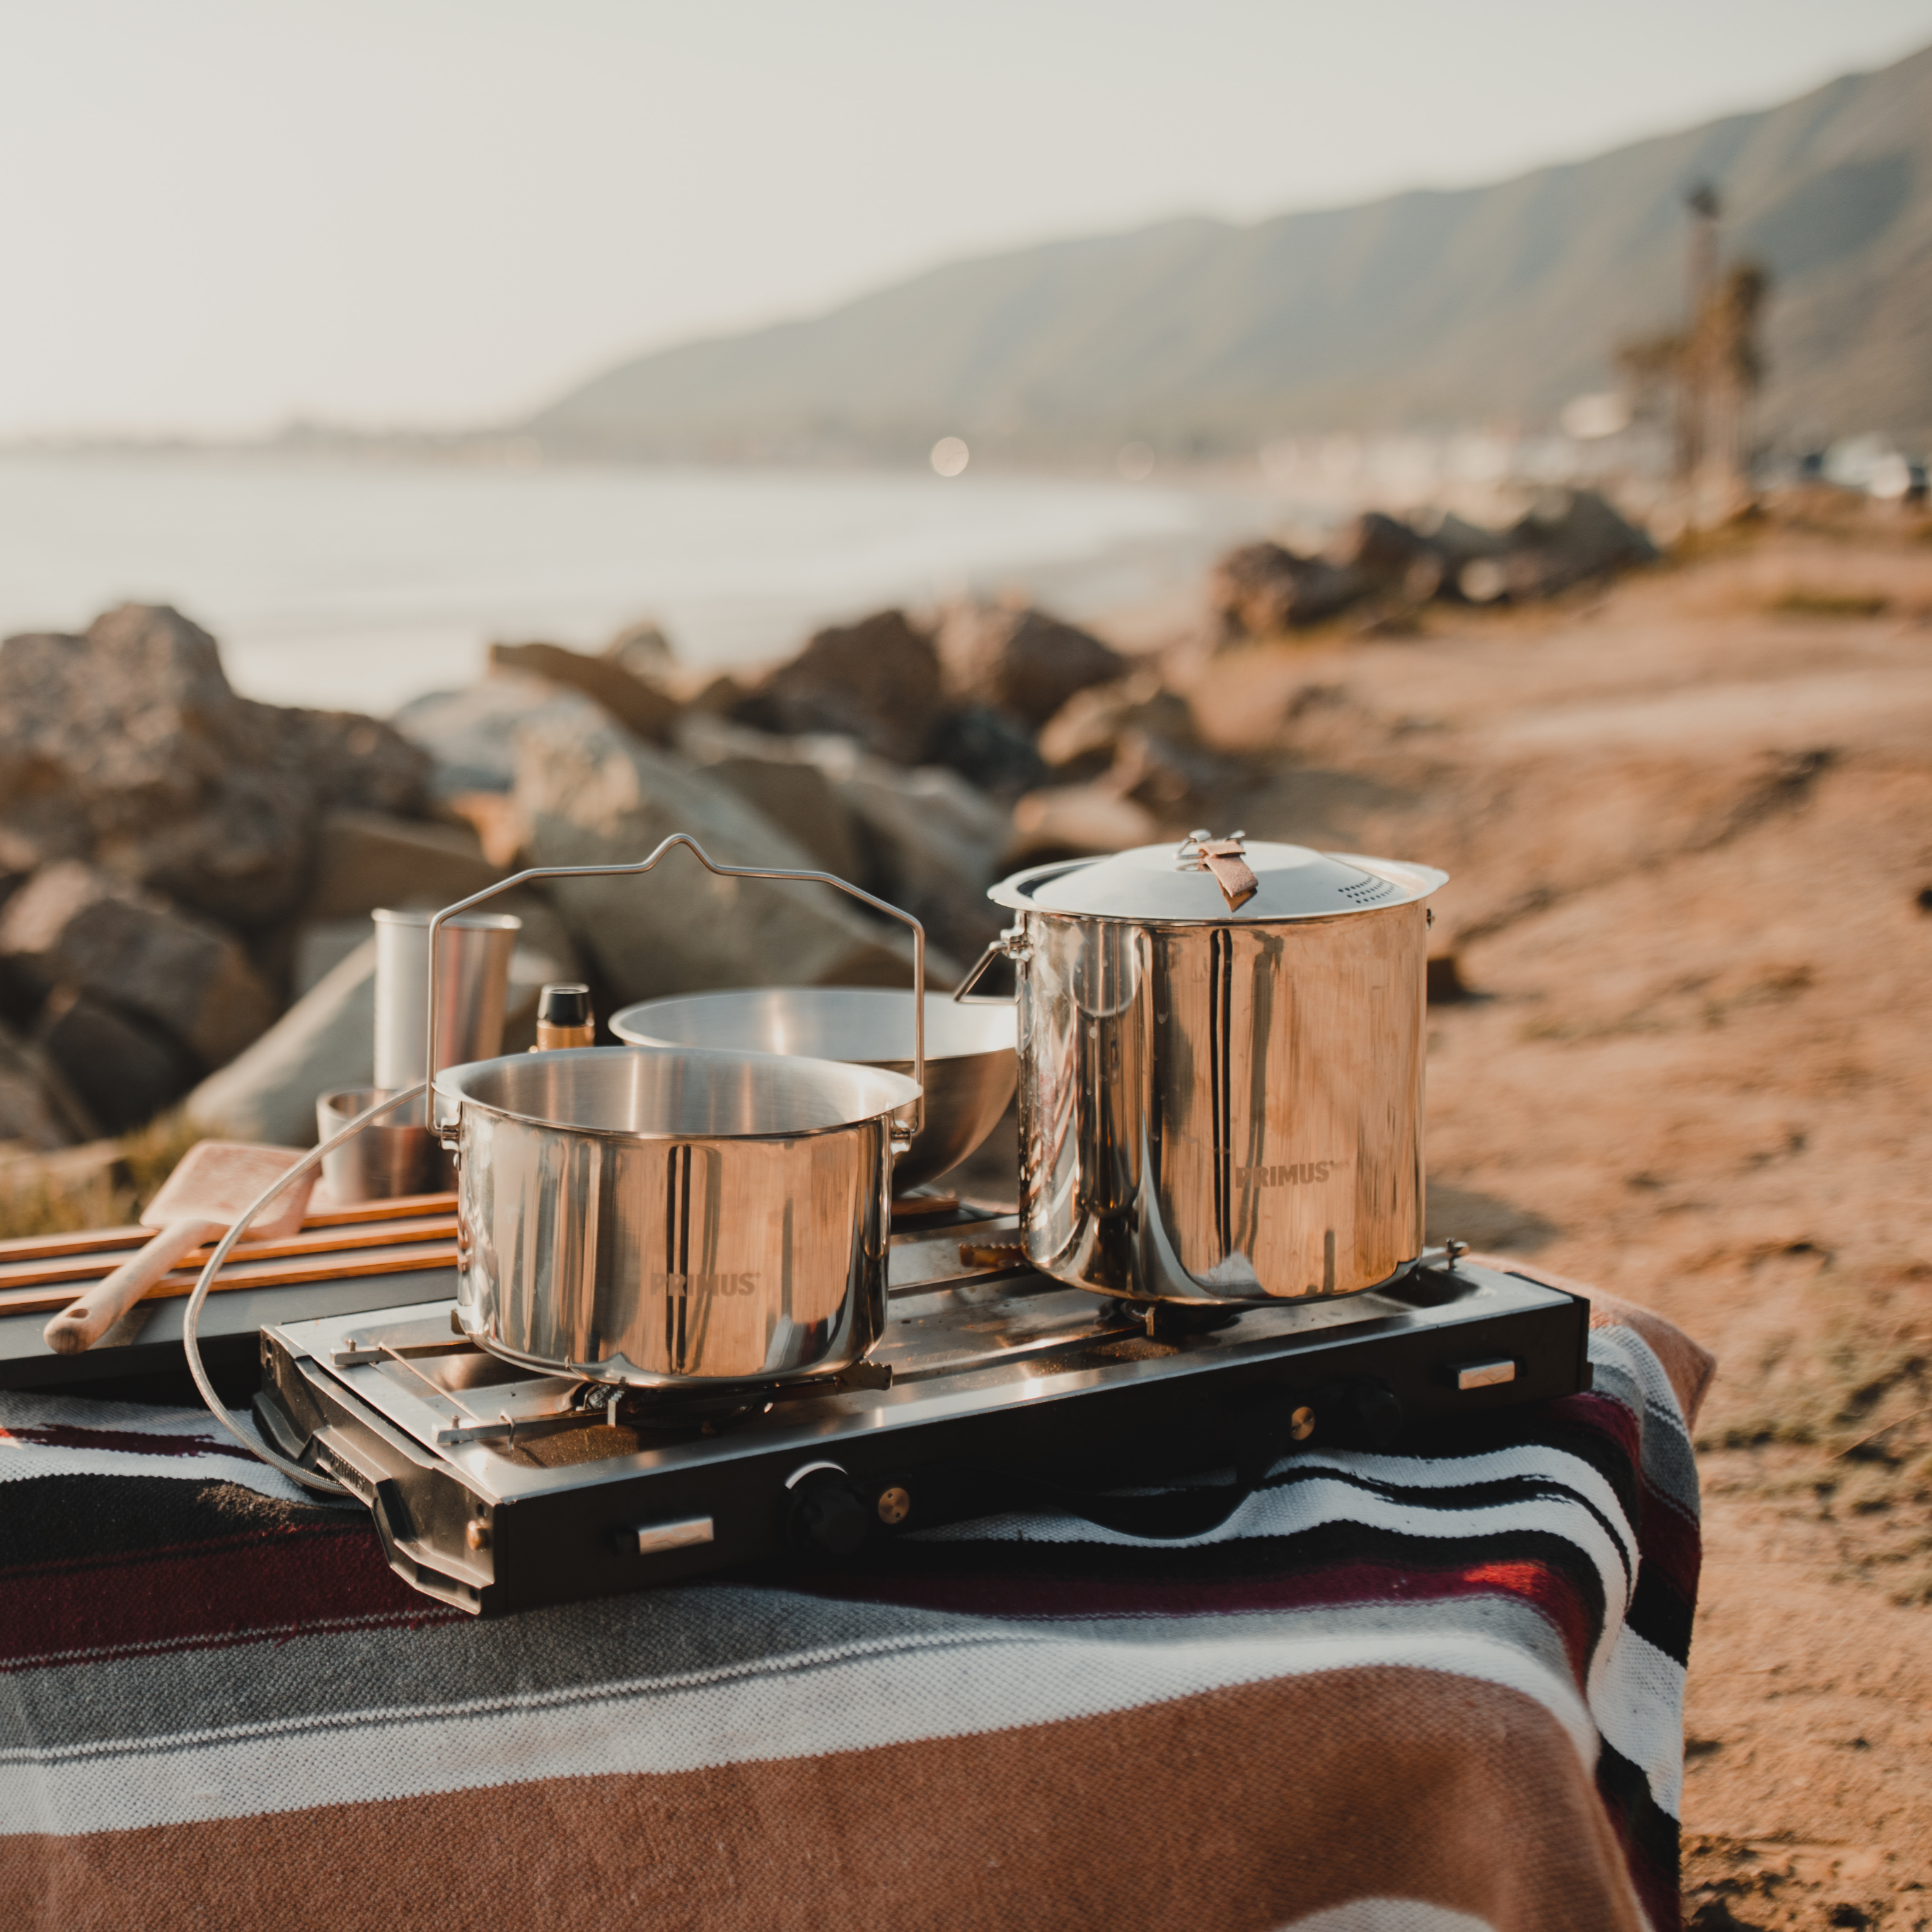
Boiling water on a stove
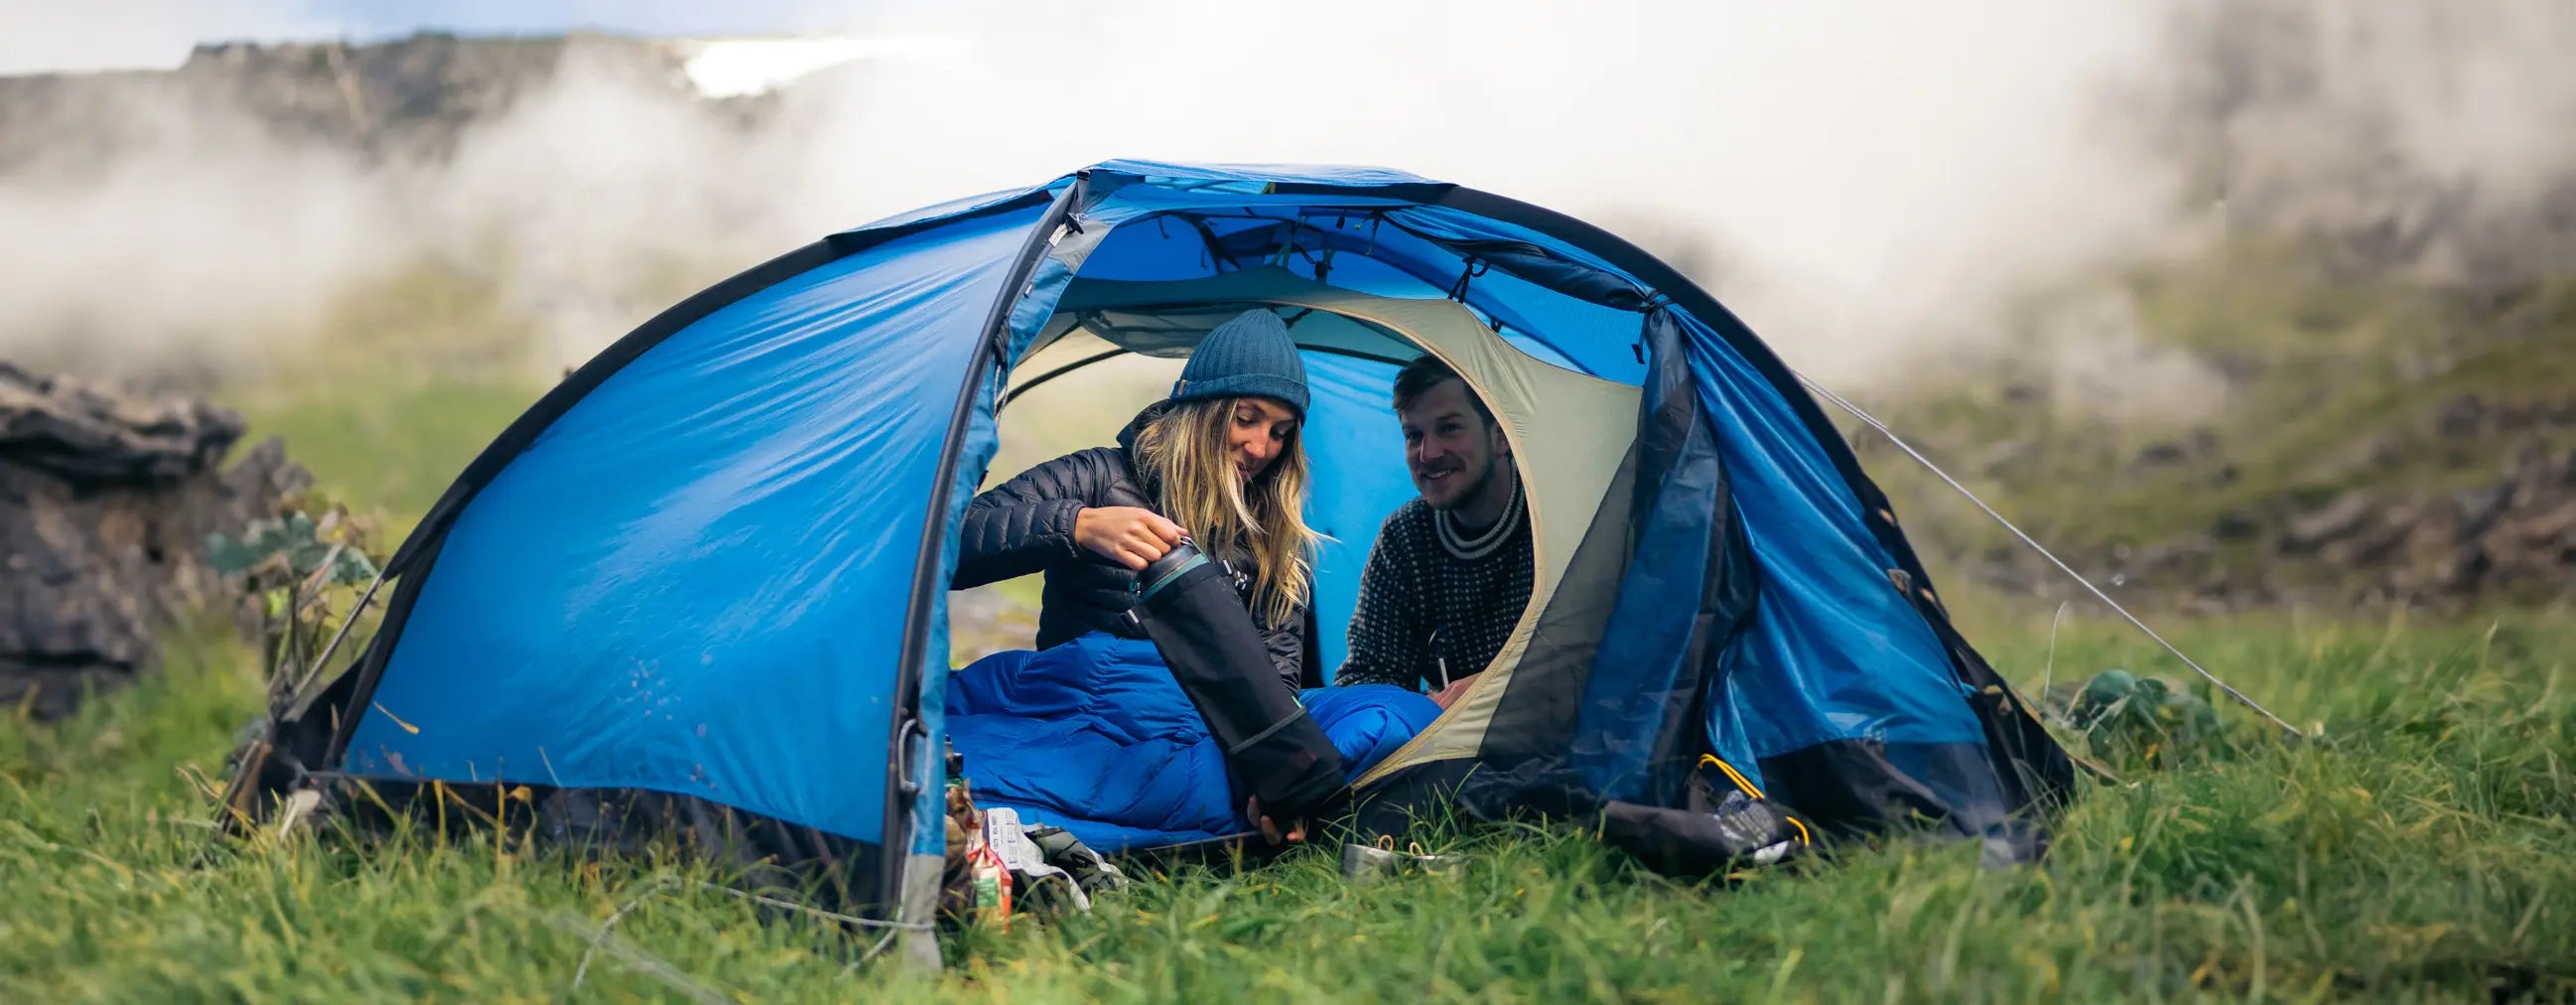
Boiling is one of the oldest and most effective methods of water purification. Once water reaches a rolling boil, bacteria, parasites and viruses are destroyed. Let the water boil for at least a few minutes. A practical tip is to boil water in the evening, pour it into a stainless-steel bottle and let it cool overnight – clean drinking water ready for the next morning.
Pros:
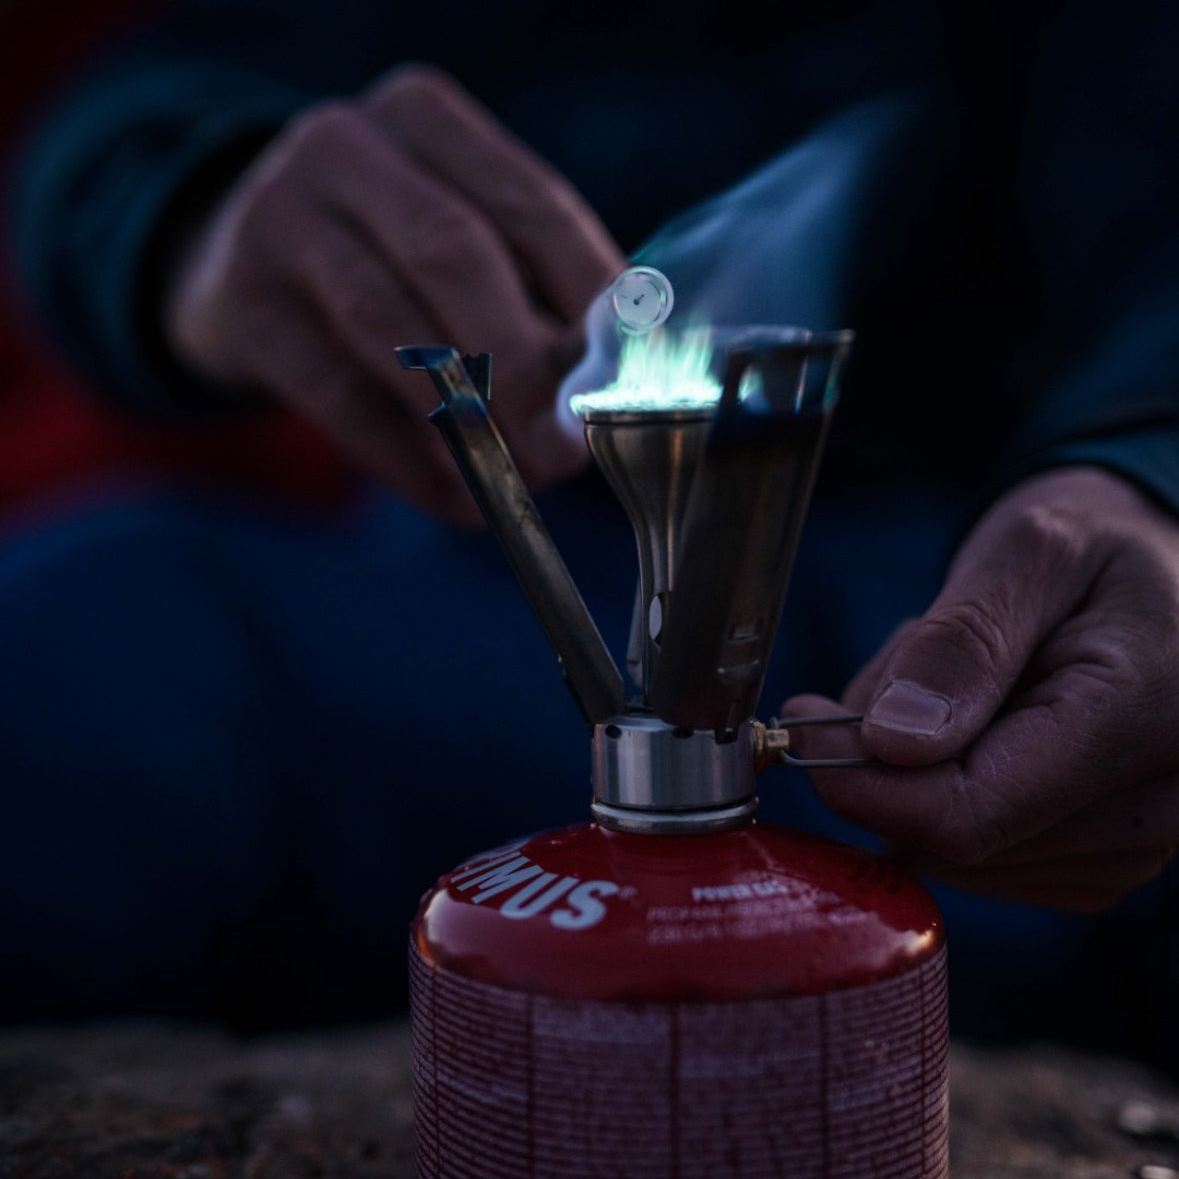
- Requires only a backpacking stove or open fire and a pot
- Highly effective against microorganisms
Works for melting snow and ice
Cons:
- Time-consuming, especially if the water needs to cool before drinking
- Does not remove particles or sediment
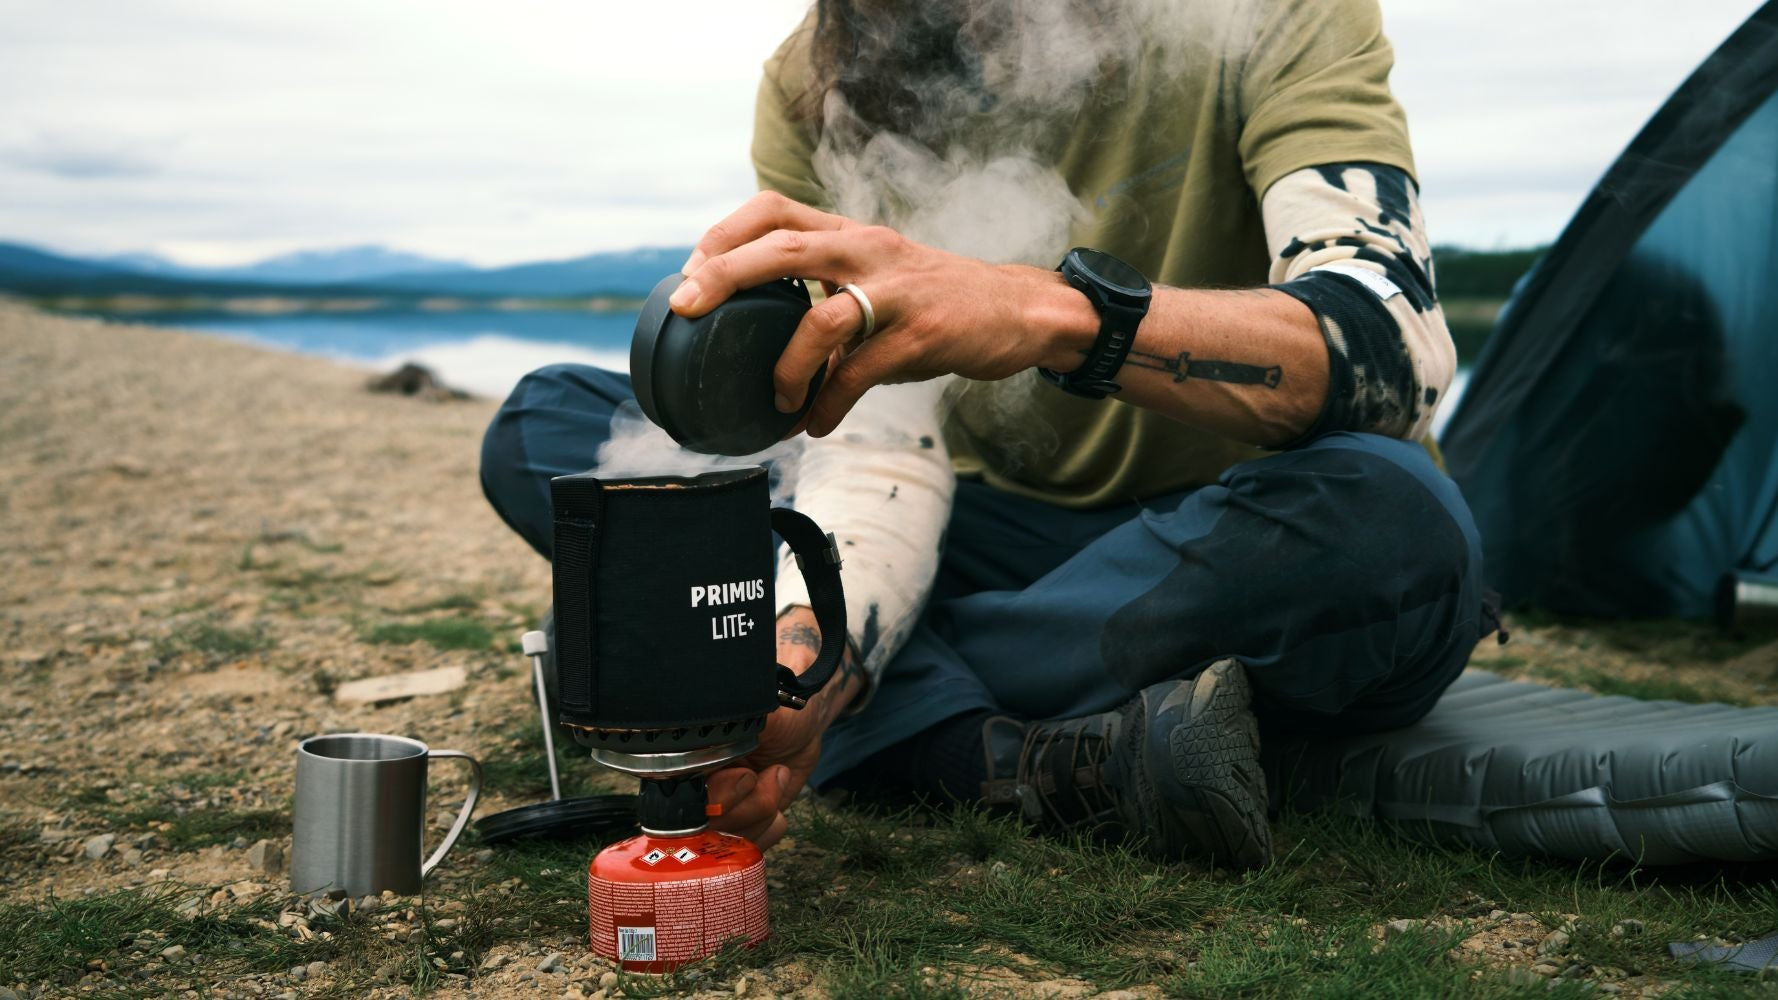
Water filters
A water filter for survival and hiking is one of the most popular solutions today. Filters come in several formats, including pump filters, filter bottles, straw filters and gravity systems. Modern filter bottles allow you to scoop water from a stream and drink directly. For longer trips or group use, gravity filters can purify larger volumes at once. A reliable survival water filter is a key piece of equipment for both outdoor adventures and emergency preparedness.
Pros:
- Remove particles, bacteria and protozoa
- Fast and easy to use
- Lightweight and portable
Cons:
- Require maintenance and can be damaged by freezing
- Do not always remove viruses
Water purification tablets
Chlorine- or iodine-based tablets and drops are a convenient backup solution when you want something lightweight that always fits in your pack. Tablets are best used as a safety backup – ideal if your filter fails or as part of an emergency water filter setup.
Pros:
- Extremely low weight and pack size
- Affordable
- No additional equipment required
Cons:
- Need 30 minutes or more to take effect
- Often leave an aftertaste
- Do not remove particles
UV light
UV purifiers use ultraviolet light to neutralise microorganisms. By stirring the UV pen in water for a few minutes, up to 99.9% of bacteria and viruses are destroyed. UV purification works well for everyday use and travel, but always carry a backup in case the battery runs out.
Pros:
- Very effective against microorganisms
- Fast – only a few minutes per litre
- Compact and lightweight
Cons:
- Requires batteries or charging
- Works best in clear water
- Sensitive equipment
DIY filters
If you have no equipment at all, it’s possible to build a basic filter using sand, charcoal, fabric or moss. This can clarify the water and remove larger particles, but it does not make the water safe on its own. Treat this strictly as a last-resort option for survival water purification, not for planned hiking.
Pros:
- Can be made from natural materials
- Improves water clarity
- Useful as pre-filtration before boiling
Cons:
- Does not reliably remove bacteria or viruses
- Time-consuming
- Must always be combined with boiling or another purification method
how to filter water safely outdoors
Small choices can make a big difference when filtering water while hiking:
- Choose running water over stagnant sources
- Avoid water downstream from grazing areas or settlements
- Pre-filter cloudy water through fabric or a buff
- Combine methods: filter first, then boil
FOR SURVIVAL & EMERGENCY PREPAREDNESS
Water purification
Preparedness isn’t about expecting the worst – it’s about being ready when conditions change. Power cuts, extreme weather or disruptions to water supply can make tap water unavailable. In those situations, the same principles used outdoors apply at home.
A simple water filter for survival, water purification tablets and a few filled containers provide peace of mind and resilience.
Want to learn more? Read our guide Always Ready – Primus Prepping.

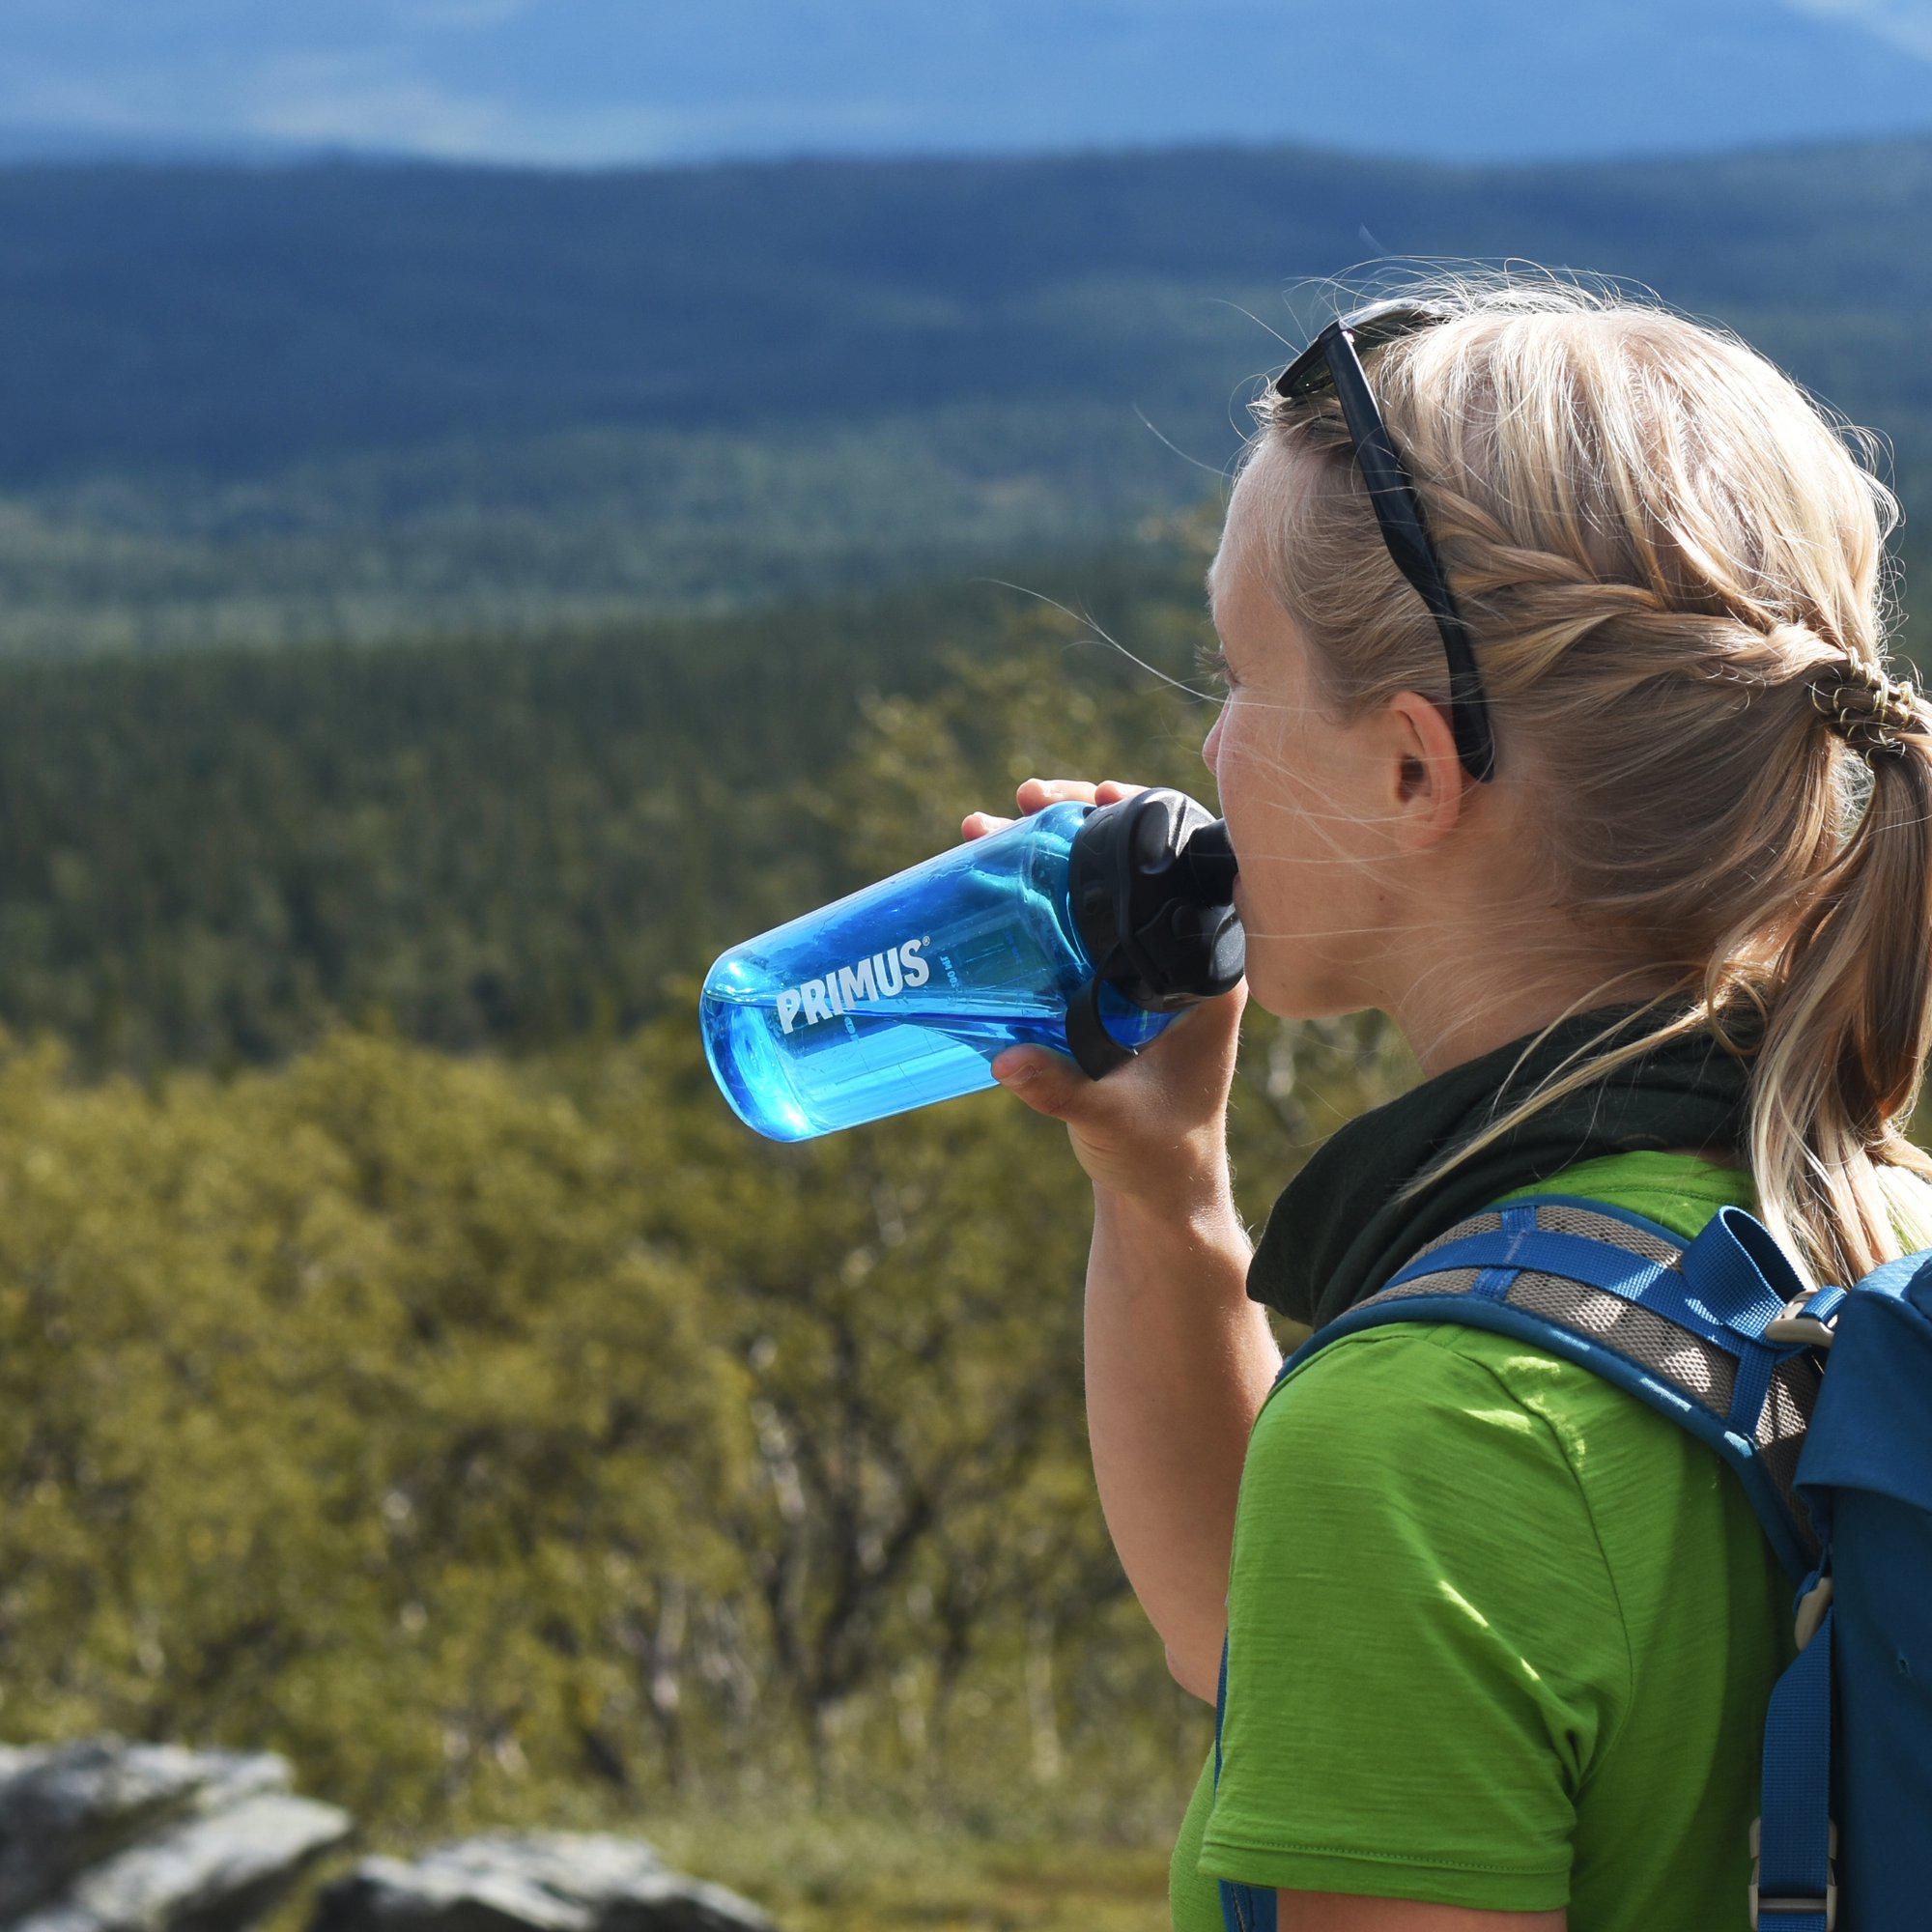
How much water do you need when hiking?
An adult typically needs around 2–3 litres of water per day – more if you’re covering long distances, carrying heavy loads or hiking in warm conditions.
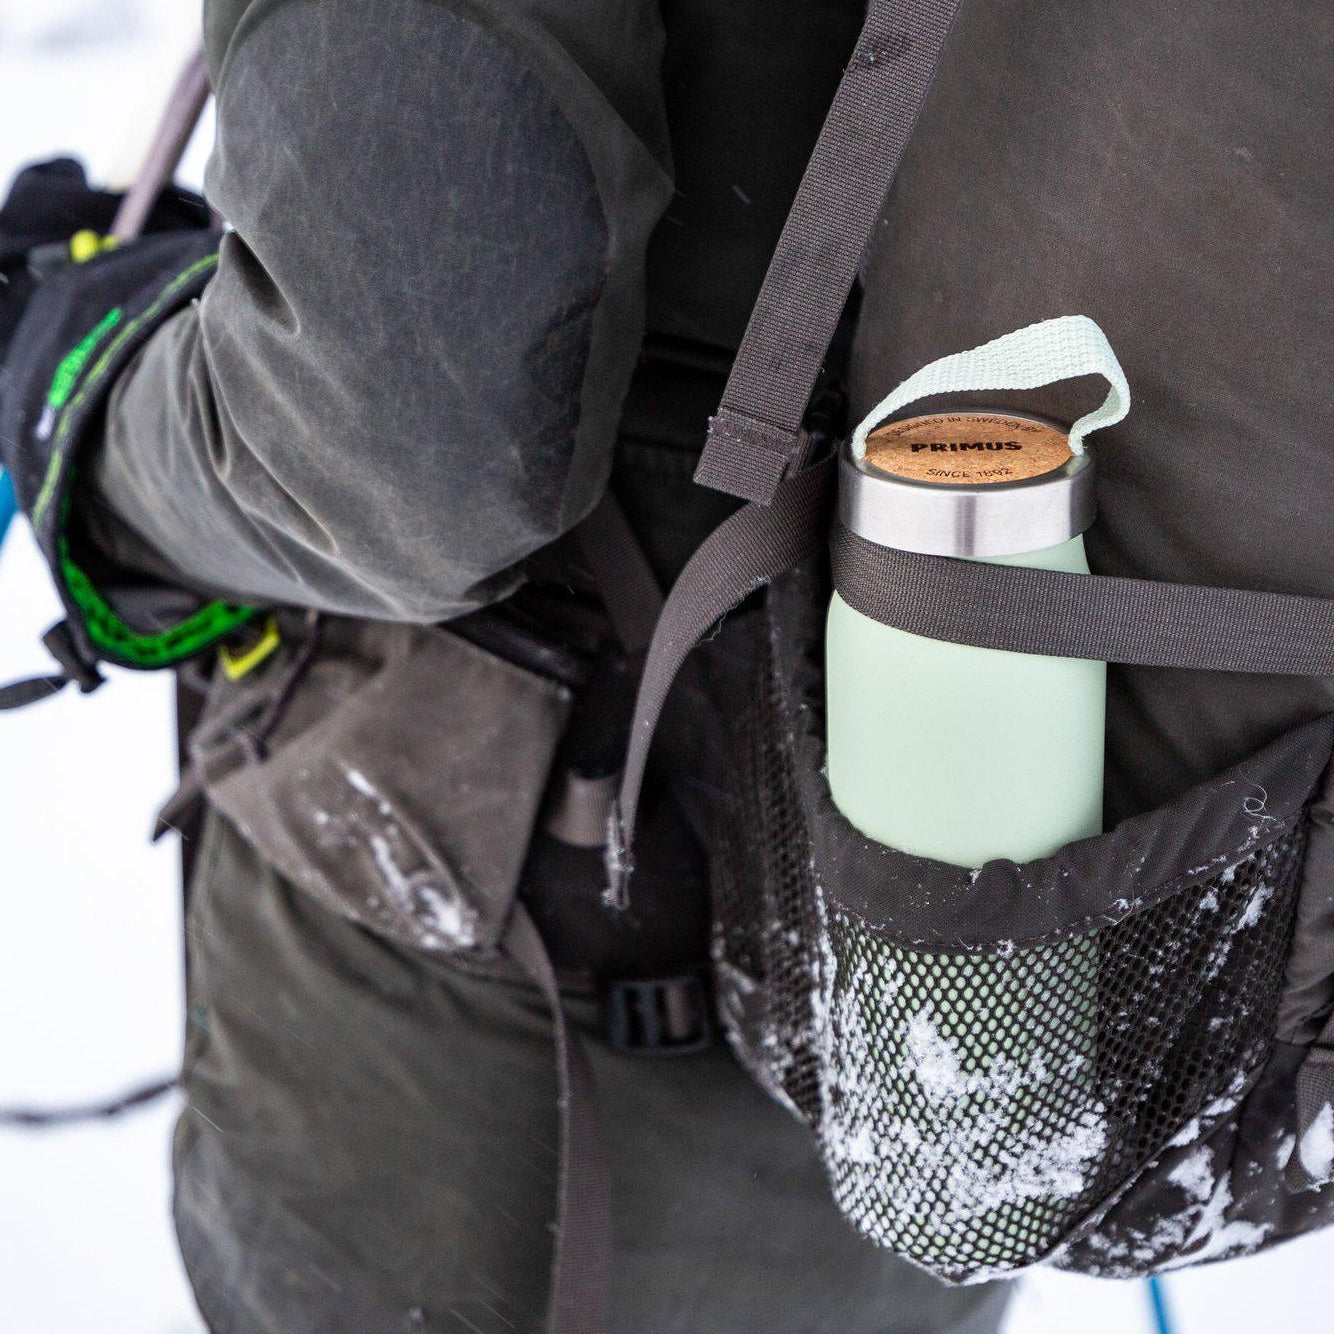
Plan your water consumption in advance. Combine the water you carry with the ability to purify more along the way. Durable stainless-steel bottles are ideal for both boiled and filtered water.
Understanding water purification for hiking is one of the most important outdoor skills. Knowing how to filter water safely gives you freedom to travel further, pack lighter and feel confident both on the trail and in everyday life. Whether you rely on a camping stove, a water filter or purification tablets, it’s all about being prepared. The same equipment that supports you in the mountains can be invaluable for water purification in survival and emergency situations at home.
Are you in the right place
Please select your store